High/Low Design Board: Pillows
Low:
High:

Low:

High:


Exciting news! It looks like TJ Maxx online store is finally back to normal! There’s a ton of great new pieces in stock, and they’re no longer limiting the amount of orders that can be placed each day. Today on the blog I’m rounding up some of my favorites—check them out below!


I’ve heard from many of you lately that you’re still on the hunt for a better work from home setup, either for yourselves or your kids. So today I’ve put together a few simple home office combos that could work for adults or kids of any age!


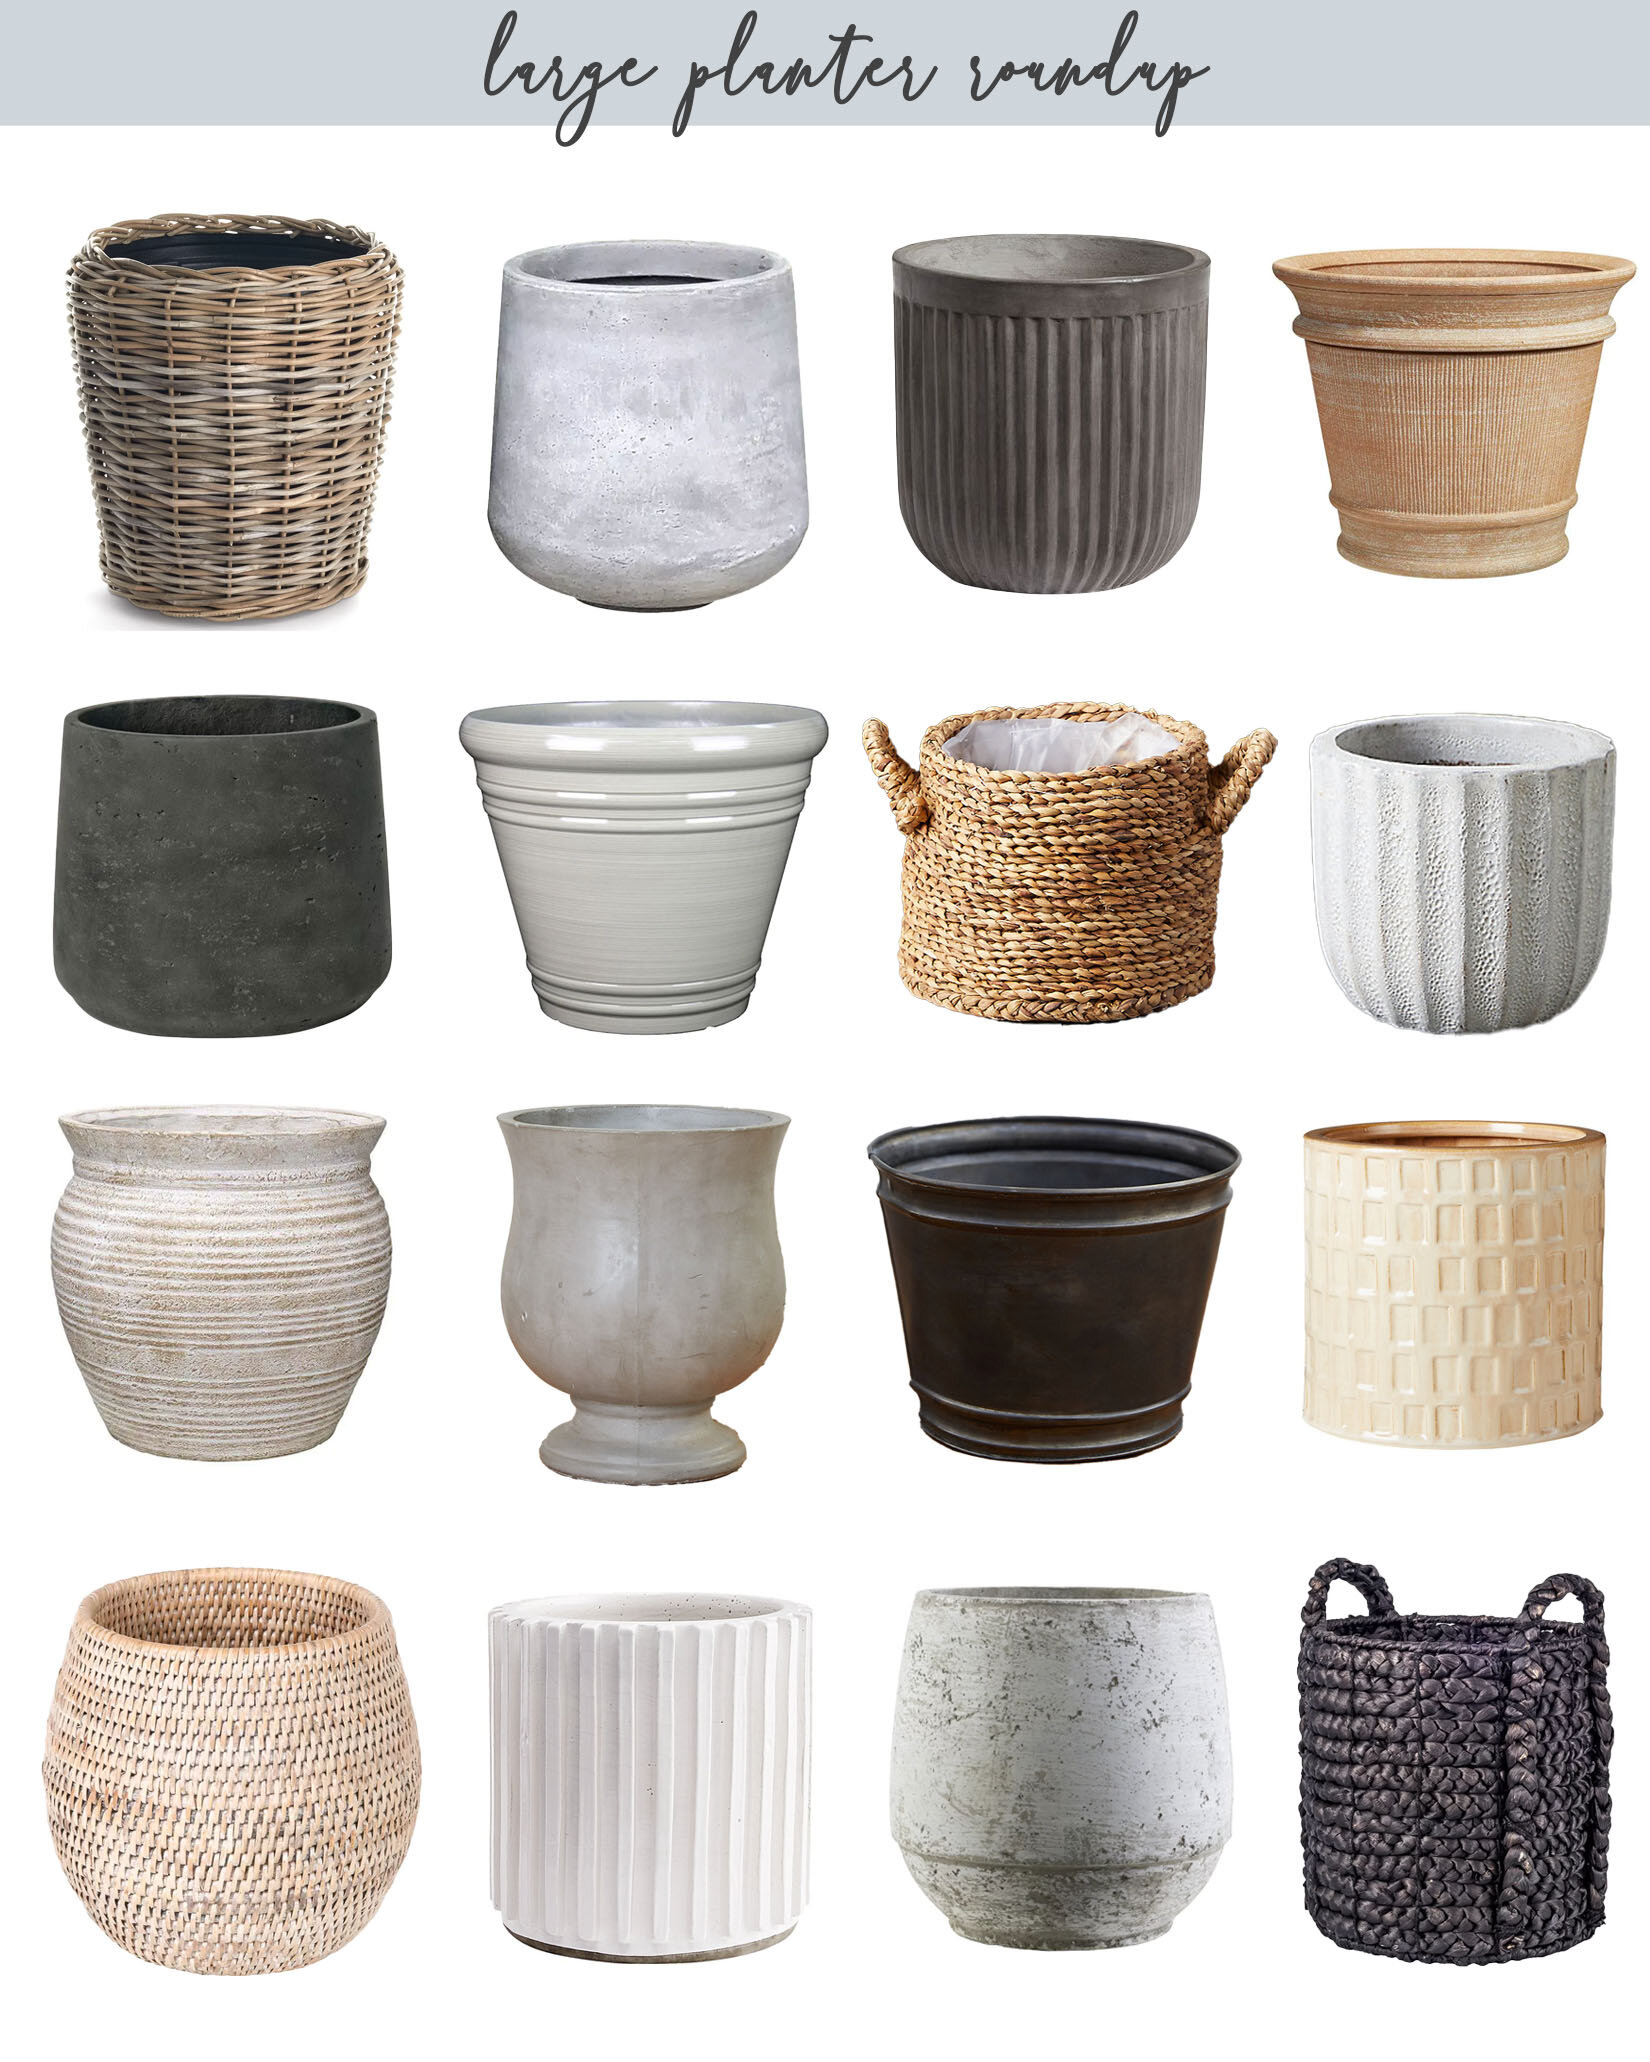
It’s the time of year that I start thinking about how I’d like to update my outdoor spaces for fall, which means swapping out some of my summer plants for a few fall ones. For whatever reason, I tend to like to layer my planters more in the fall, so I’m always on the hunt for a good collection of planters in various textures and materials to keep my arrangements interesting. Today, I’ve rounded up a lot of large planter options that can be mixed and matched, and would work nicely for any season!


Target is launching their fall collection in collaboration with Studio McGee tomorrow! I didn’t think they could top their last collection, but they may have done it with this one! I’ve rounded up some of my favorite new pieces, and have done a huge high/low board of the pieces that are designer dupes!


Low:

High:


Our staircase remodel is probably one of the most asked about renovations that we’ve completed in our home, so today I thought I’d share some details about this renovation along with all of the sources we used. Overall, this was one of the more expensive renovations we’ve done in our home, mainly due to the cost of the supplies that are required for this type of project. But another big factor is that we hired a contractor to do most of the renovation, since some of the materials used are custom made and expensive, and the cost of mistakes made would be high.
Here are a few before images of the space.

As you can see, we only had railings on the first half of the staircase, and the second half was just drywall. This made the space very dark and the half wall wasn’t doing justice to the layout of the stairs. I knew this could be a wonderful focal point since it’s in the center of our home, so I felt that the investment in the renovation would really make an impact and would be more in line with the rest of the renovations we had planned.
We had our contractor take out the half wall, and we carried our flooring, Johnson Hardwood British Isles Series in Essex, all the way up the treads. We purchased our flooring from our local Pro Source, and they were able to order custom coordinating stair noses from a third party they worked with. These were one of the materials that were very expensive, so we didn’t want to risk making any wrong cuts and having to waste material. Our carpenter took off all of the original stair treads and cut the old noses off, and then reinstalled with liquid nails and brads to keep them from squeaking. Then he added the new stair nose and our wood flooring on top. He used poplar to cover the areas where they took the half wall down.

Since I knew some of the materials would be costly for this project, I tried to source affordable balusters, hand rails, and newel posts. I will link what I chose below. Everything was very affordable, but again if we ended up making any wrong cut these could add up and be costly.


We opted to do the painting/staining ourselves to save a bit on the budget. I painted all the newel posts and risers white. For now I’ve left the poplar handrails unstained since they tie into our flooring pretty well in person, but I may be look into doing a slight gray wash now since the poplar has yellowed a bit over the last few years.
I hope this was helpful to anyone who is considering a staircase remodel! I think this could be a diy project for someone who has a lot of project experience, but if not it’s still definitely a project that is worth the investment! This staircase is one of my favorite renovation projects we’ve done to date, and makes a huge impact in our home.


Today on the blog I’m going to share the full tutorial for our new linen closet! I used an IKEA Pax unit for the base of the closet, and added some additional trim and hardware to the piece to make it completely built in and custom.

What you’ll need for the project:
IKEA pax unit and accessories in the appropriate size for your space
Basic Tools — tape measure, level, cordless drill
Skill Level: Intermediate
I started the project by clearing out the closet to make space for the pax unit. We have a small closet (about 24”w x 26” d x 8ft h) so I was hoping to be able to build the pax outside of the closet and slide it in. Unfortunately that didn’t work, but I was able to build the unit inside the closet—so if you have a small closet like mine, know that is it is difficult, but possible!
Once I had the unit and the accessories installed, I started to work on the trim for the front of the unit and selected the material to cover the back of the unit. The unit comes with a white plywood backing, which would have worked fine, but I wanted to do something a bit more interesting and textural. I decided to repurpose some extra wood flooring we had on hand, to create a white oak shiplap look. I ripped the 7.5” flooring boards in half and used a nickel to create even gaps between boards. I love that it coordinates with our flooring perfectly, but doesn’t look like I just used our same flooring material in the unit.
Then I used poplar to add a face frame to the front of the unit. I used a 1x2” for the shelves, and ripped down a 1x6” to cover the sides of the unit.

After that I started on the drawer fronts. I decided to do an inset solid slab drawer front with a 3/16” gap all around. I started by making a few spacers to help me position the drawer fronts before installing. Then I cut my primed pine drawer fronts to size with my table saw and circular saw. I decided to make the top four drawers the same size, and the bottom drawer just a 1/4” taller just so that my measurements were easier to work with. In the end you can’t tell there’s a size difference at all! I sanded the fronts with 220 grit sandpaper and rounded the front edges just slightly to give them a more finished look, but was careful not to sand the corners much so that the 3/16” gap remained even all the way around.
I used command strips on the drawer fronts so that I could get the placement right before attaching them, and then I didn’t have to worry about the drawer slipping as much when I screwed them in place. I used four 1 1/4” screws to attach all the drawers. Be careful with your screw placement at this step, as you don’t want them to conflict with the placement of you drawer pulls. I made sure I kept the pull tab exposed so that once the drawer fronts were attached I could easily pull the command strip out.


I used painters tape to create a pull on each drawer so that I could still open then before I attached the drawer pulls.
Once the drawer fronts were done, I caulked and wood filled all the extra holes and gaps, and painted the entire piece in extra white by Sherwin Williams. Then I installed these knobs on the drawers, and called the project complete!


There are a ton of great sales happening this weekend, and today I’m rounding up all of my favorites along with a few picks from each!
McGee and Co — 15% off everything


Serena & Lily — Special pricing on living room furniture


Abercrombie — 40-60% off throughout the store


Target — Save 20% on one indoor or outdoor furniture item


Target — 20% off women’s fashion brands with Target circle

World Market — Save up to 40% off furniture


Urban Outfitters — Take an extra 30% off sale styles


Rejuvenation — 20% off everything, 25% off $1500 or more


Lulu & Georgia — Up to 25% off everything


Pottery Barn — Up to 25% off everything


American Eagle — 25-50% off everything


The Serena and Lily living room event is happening now, and today I’m sharing some of my favorite pieces from the sale along with a few pieces we own and love!


More finds:


Lately I’ve been very into dried florals and have been on the hunt for some great options to include in my home as we transition to fall. With the pandemic, I haven’t been going on my normal flower runs to Trader Joes, so I’ve been relying on what I’ve grown in my garden and deliveries from local florists. Personally, I’m not a huge fan of faux since I just love the feeling that real live plants and flowers bring into our home. The dried options have been a nice compromise during this time, and some types look just about the same dried as they do live! I’ve shared a few of my favorites below!


